
 Emily Hart
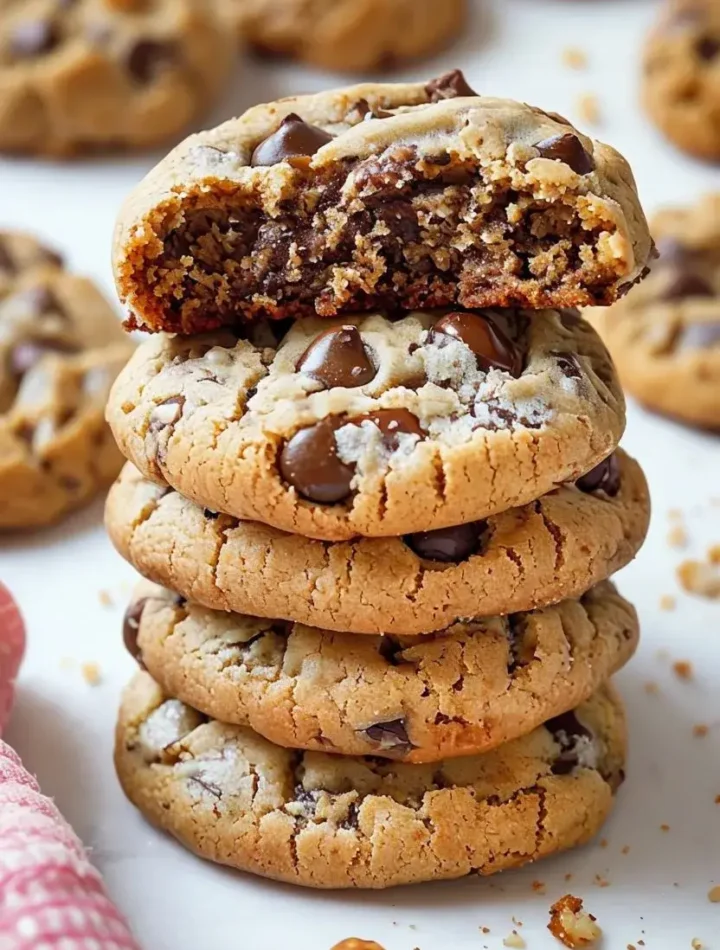
Close your eyes and imagine biting into a warm, gooey cookie. You taste the rich sweetness of chocolate chips, balanced by the satisfying crunch of toasted walnuts. That, my friends, is the magic of a Chocolate Chip Walnut Cookie. This timeless classic is a staple in kitchens around the world, and for good reason! It’s a simple recipe with phenomenal results – a delicious symphony of textures and flavors that appeals to every generation.
Whether you’re a seasoned baker or just starting your culinary journey, this comprehensive guide will walk you through every step of creating the perfect Chocolate Chip Walnut Cookie. We’ll explore the ingredients, the techniques, and even some creative variations to elevate this classic treat to new heights. So, preheat your ovens, grab your aprons, and let’s get baking!
Ingredients:
Here’s what you need to create a batch of these irresistible cookies:
- Dry Ingredients:
- 2 ¼ cups (281g) all-purpose flour
- 1 teaspoon baking soda
- 1 teaspoon salt
- ½ teaspoon ground cinnamon (optional, for a warm flavor)
- Wet Ingredients:
- 1 cup (2 sticks/226g) unsalted butter, softened
- ¾ cup (150g) granulated sugar
- ¾ cup (165g) packed light brown sugar
- 1 teaspoon vanilla extract
- 2 large eggs
- The Stars:
- 1 cup (170g) semi-sweet chocolate chips
- 1 cup (100g) chopped walnuts, toasted
Step-by-Step Directions:
- Toast the Walnuts (Don’t Skip This!): Toasting intensifies the nutty flavor of the walnuts. Spread them on a baking sheet and bake in a preheated 350°F (175°C) oven for 5-7 minutes, until fragrant. Let them cool completely before chopping.
- Whisk the Dry Ingredients: In a medium bowl, whisk together the flour, baking soda, salt, and cinnamon (if using). This ensures even distribution of the leavening agents and prevents clumps.
- Cream the Butter and Sugars: In a large bowl (or stand mixer), beat the softened butter with both sugars until the mixture is light and fluffy, about 3 minutes. This incorporates air into the dough, making the cookies lighter.
- Incorporate the Eggs and Vanilla: Add the eggs one at a time to the butter-sugar mixture, beating well after each addition. Stir in the vanilla extract. The eggs provide structure, while vanilla enhances the overall flavor.
- Combine Wet and Dry Ingredients: Gradually add the dry ingredients to the wet ingredients, mixing on low speed until just combined. Do not overmix, as it can lead to tough cookies.
- Fold in the Chocolate Chips and Walnuts: Gently fold in the chocolate chips and toasted, chopped walnuts. Make sure they are evenly distributed throughout the dough.
- Chill Out! Cover the cookie dough and refrigerate for at least 1 hour (and up to 24 hours). This allows the flavors to meld and prevents the cookies from spreading too much during baking.
- Preheat and Prepare: Preheat your oven to 375°F (190°C). Line baking sheets with parchment paper or silicone baking mats for easy cleanup.
- Shape and Bake: Drop rounded tablespoons of dough onto the prepared baking sheets, leaving about 2 inches between each cookie. Bake for 9-12 minutes, or until the edges are golden brown and the centers are slightly soft.
- Cool and Enjoy: Let the cookies cool on the baking sheets for a few minutes before transferring them to a wire rack to cool completely. This helps them firm up.
Serving and Storage Tips:
- Serve: These cookies are best enjoyed warm, straight from the oven. Serve them with a cold glass of milk, a cup of coffee, or a scoop of vanilla ice cream for the ultimate treat.
- Store: Once cooled completely, store your chocolate chip walnut cookies in an airtight container at room temperature for up to 3 days.
- Freezing:
- Dough: You can freeze the dough for up to 3 months. Scoop the dough onto a parchment-lined baking sheet, freeze until solid, then transfer to a freezer-safe bag. Bake from frozen, adding a few minutes to the baking time.
- Baked Cookies: Cool the cookies completely, then freeze in a single layer. Once frozen, transfer to a freezer-safe bag. Thaw at room temperature or warm gently in a preheated oven.
Five Creative Variations:
- Dark Chocolate Sea Salt: Replace the semi-sweet chocolate chips with dark chocolate chips and sprinkle a touch of flaky sea salt on top of the cookies before baking. The salt enhances the chocolate flavor and adds a sophisticated touch.
- Oatmeal Chocolate Chip Walnut: Add 1 cup of rolled oats to the dry ingredients for a heartier cookie with a satisfying chew.
- White Chocolate Macadamia Nut: Swap out the semi-sweet chocolate chips for white chocolate chips and the walnuts for macadamia nuts for a decadent and buttery twist.
- Espresso Double Chocolate Chunk: Add 1 tablespoon of instant espresso powder to the dry ingredients and use a mix of semi-sweet chocolate chunks and milk chocolate chips for an extra chocolatey boost.
- Cranberry Orange Walnut: Add ½ cup of dried cranberries and the zest of one orange to the dough for a festive and flavorful twist.
FAQ Section:
Q1: Can I use margarine instead of butter?
A1: While you can use margarine, butter is highly recommended for the best flavor and texture. Butter’s richness is key to these cookies.
Q2: Why did my cookies turn out flat?
A2: This usually happens if the dough is too warm or if the butter is over-softened. Make sure to chill the dough adequately and use butter that is soft but not melted.
Q3: Can I omit the walnuts?
A3: Absolutely! You can make these cookies without the walnuts or substitute them with other nuts like pecans or almonds.
Q4: How do I know when the cookies are done baking?
A4: The edges of the cookies should be golden brown, and the centers should be slightly soft but set.
Q5: Can I make the cookie dough ahead of time?
A5: Yes, you can make the dough up to 3 days in advance and store it in the refrigerator.
Conclusion:
Chocolate Chip Walnut Cookies are a true testament to the fact that sometimes, the simplest things in life are the most rewarding. With a handful of pantry staples and a little bit of love, you can create a batch of these irresistible cookies that will disappear in minutes. Whether you stick to the classic recipe or venture out with creative variations, the end result is always a delicious and satisfying treat that’s perfect for any occasion. So, gather your ingredients, put on your apron, and experience the joy of baking (and eating!) these timeless classics.